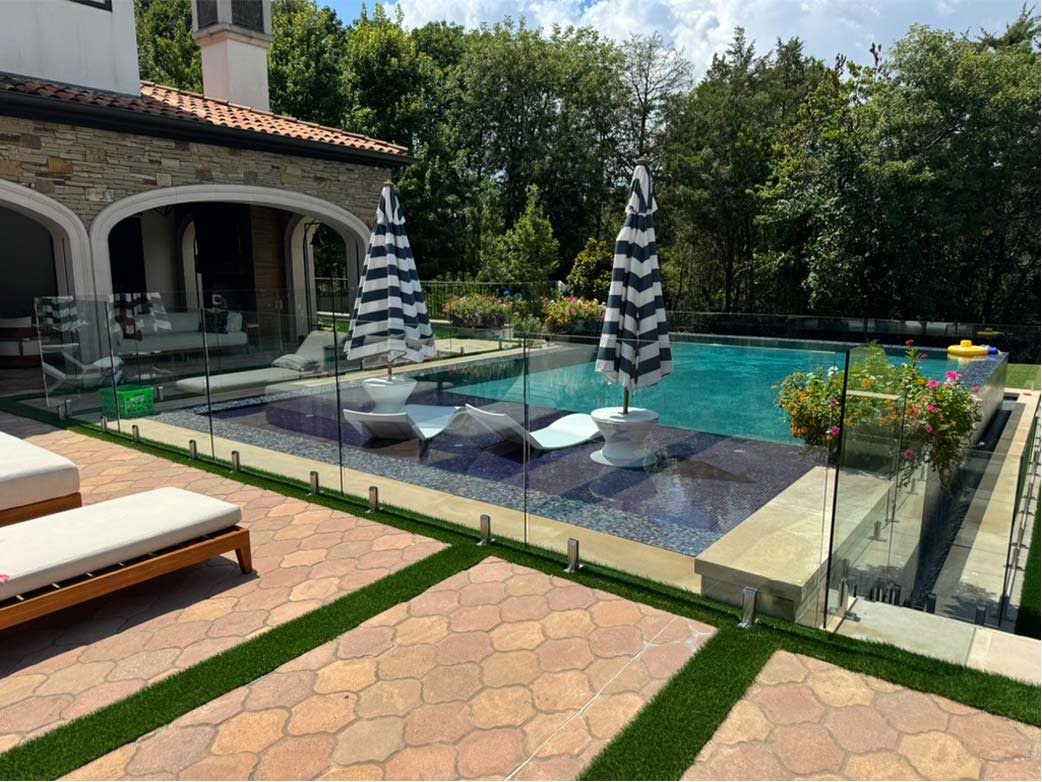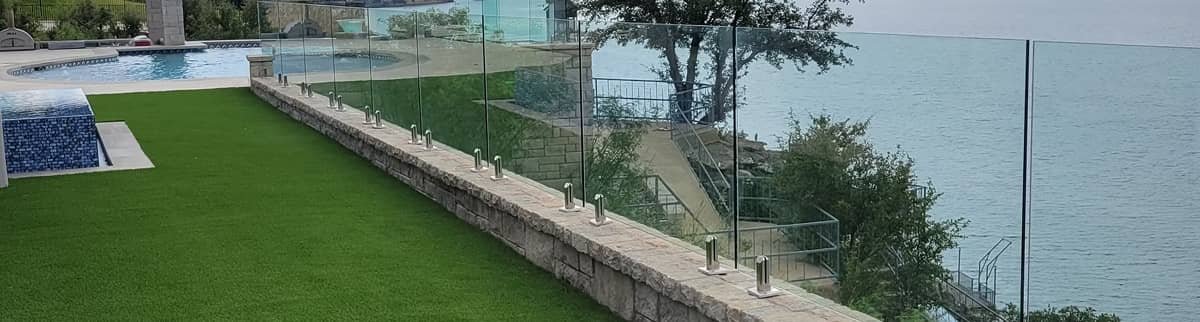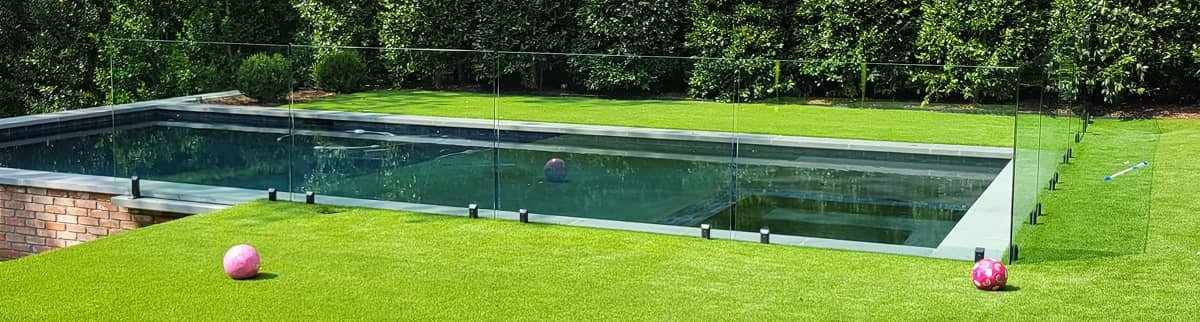
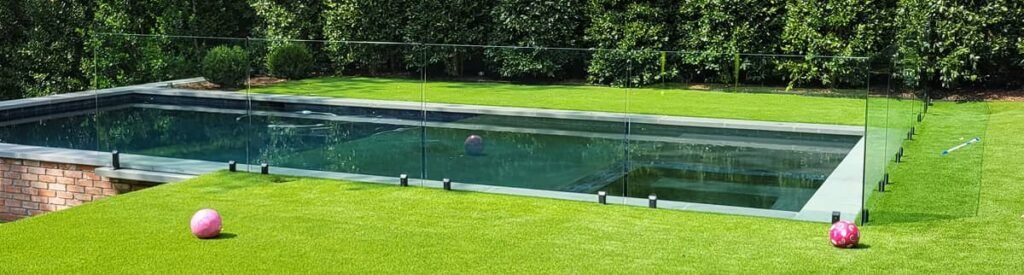
Installing a glass pool fence is one of the most noticeable upgrades you can make to your backyard. It helps protect kids and pets, keeps your view open, and adds real curb appeal. Installed properly, it can last for many years. Installed poorly, though, it can create safety risks that aren’t always obvious until a problem arises.
This guide explains the installation process so you have a clear idea of what is involved, whether you plan to handle the work yourself or want to understand how glass fencing professionals in Royse City approach a proper installation before deciding who to hire.
Before You Start: Check Local Codes
Pool fencing in Texas is governed by local building codes that specify minimum fence height, gate requirements, and acceptable gap sizes between panels. Before you dig a single hole or order materials, confirm what’s required in your area. Requirements can vary between municipalities across the DFW metroplex, so don’t assume one city’s rules apply to another.
Key code items to verify:
- Minimum fence height (typically 48 inches for residential pools)
- Gate requirements: self-closing and self-latching gates are required in most jurisdictions
- Maximum gap sizes between the bottom of the fence and the ground
Step 1: Plan Your Layout
Measure the perimeter of your pool area and map out exactly where the fence line will run. Mark post locations with stakes and string, spacing them evenly based on your panel dimensions. Note where your gate opening will go and make sure it swings away from the pool.
Use a level throughout this process; an unlevel layout at this stage means unlevel panels later.
Step 2: Prepare the Ground
The surface you’re installing into determines your entire approach.
- Concrete or pavers: Use a core drill or hammer drill to create post holes, then set posts with hydraulic cement or construction adhesive.
- Grass or soft ground: You’ll need to pour concrete footings. Dig post holes at least 12 inches deep, set your posts, and pour concrete around them. Let it cure fully before attaching panels, usually 24 to 48 hours.
Clear the area of rocks, roots, and debris before digging. Any obstruction in a post hole can cause uneven settling over time.
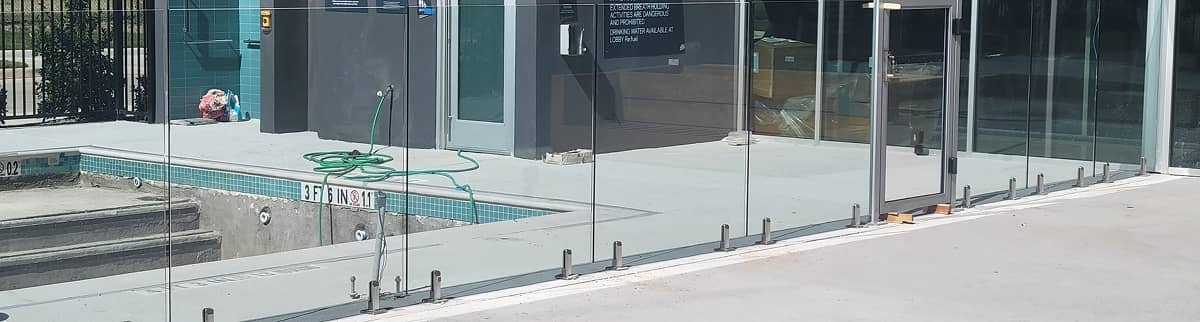
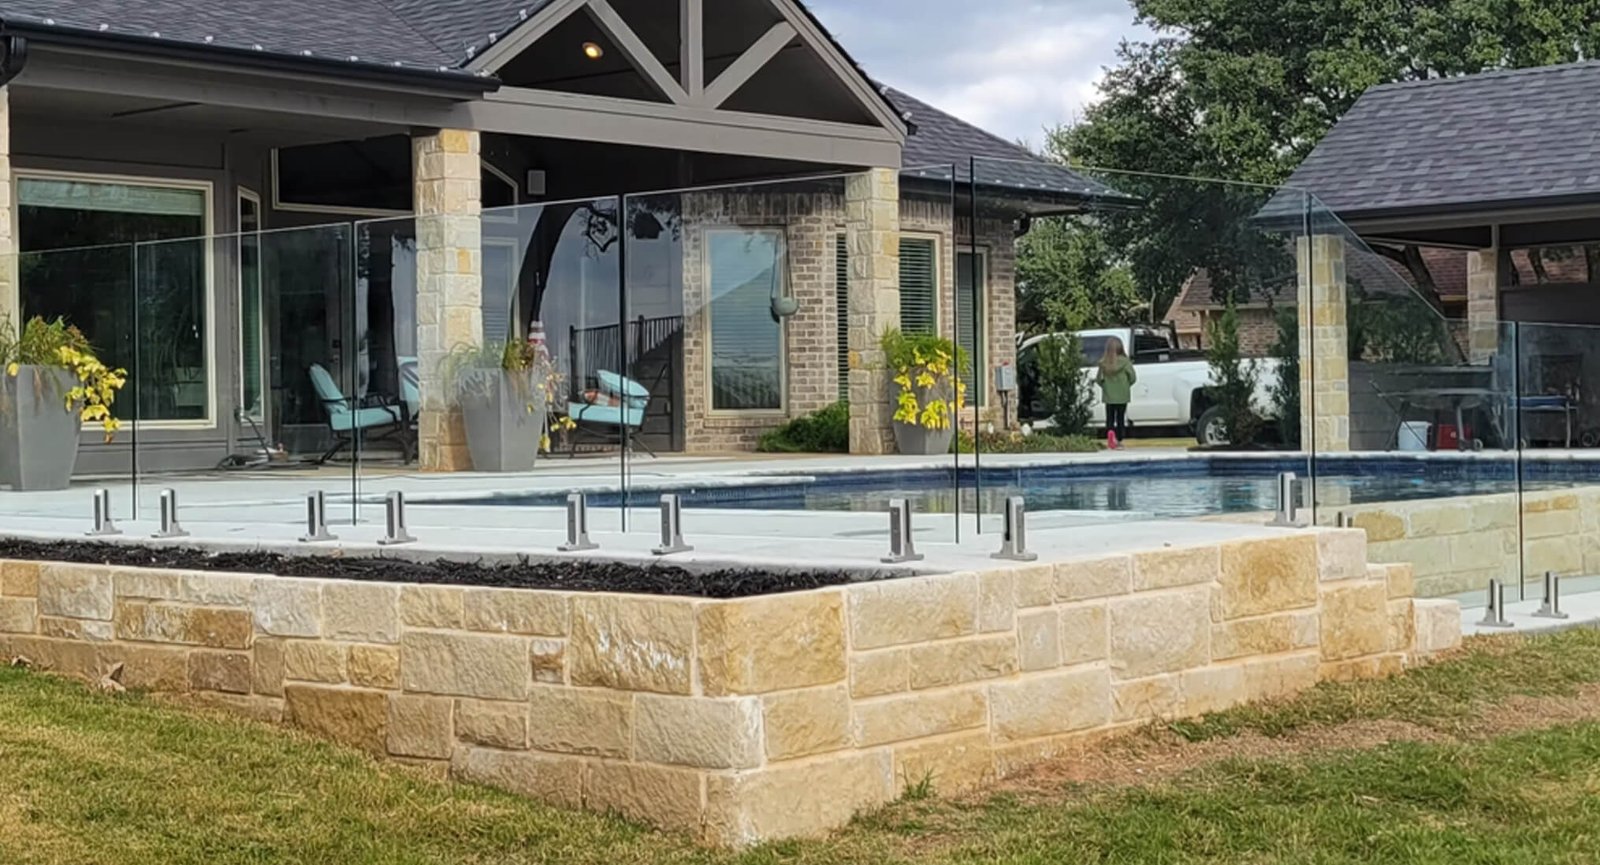
Step 3: Set the Posts
With your holes ready, set each post perfectly plumb using a level on at least two sides. This step is critical; even a slightly off-plumb post throws off every panel attached to it.
Secure posts in concrete and hold them in position while the mix sets. Don’t rush this step.
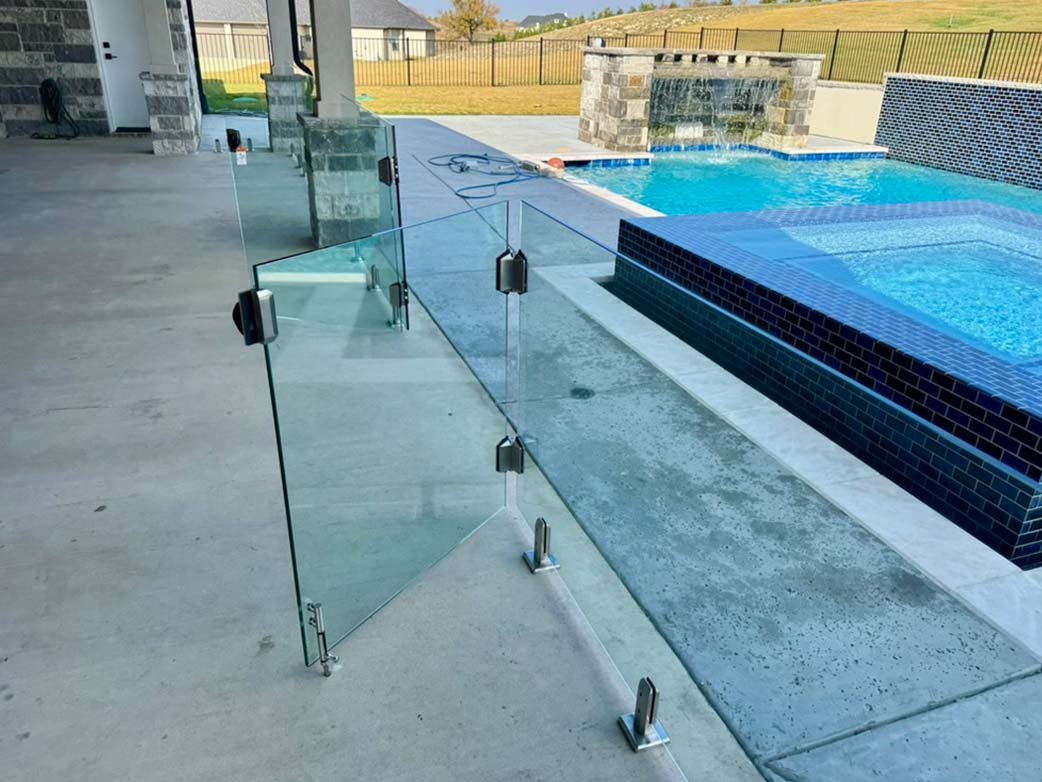
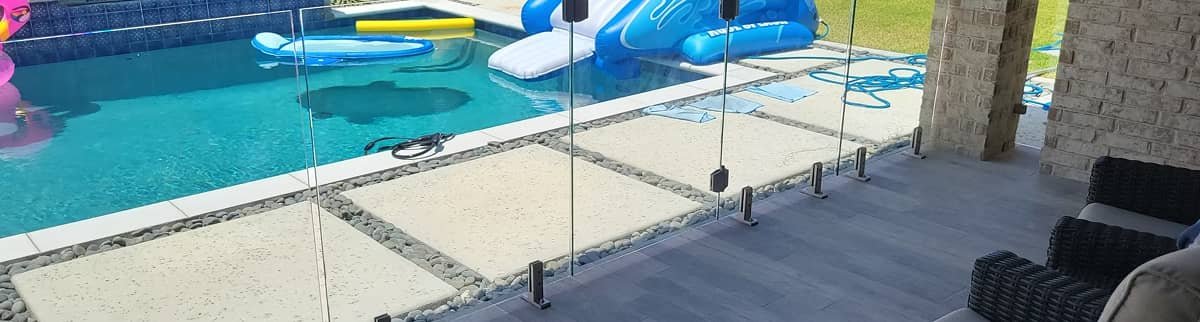
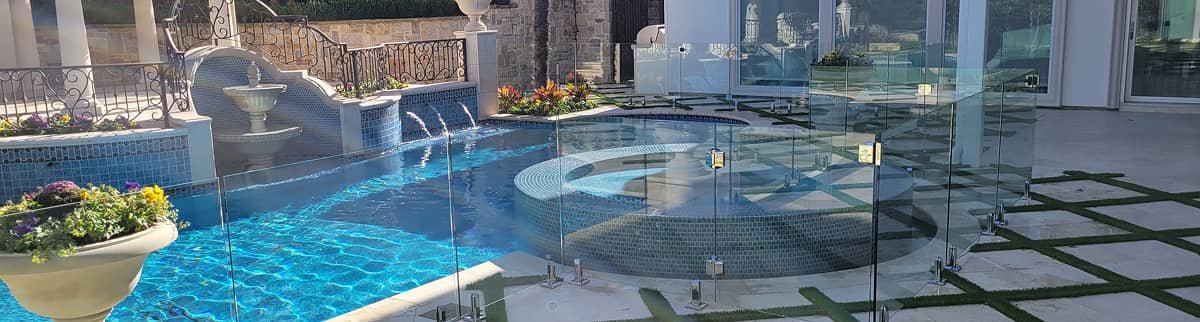
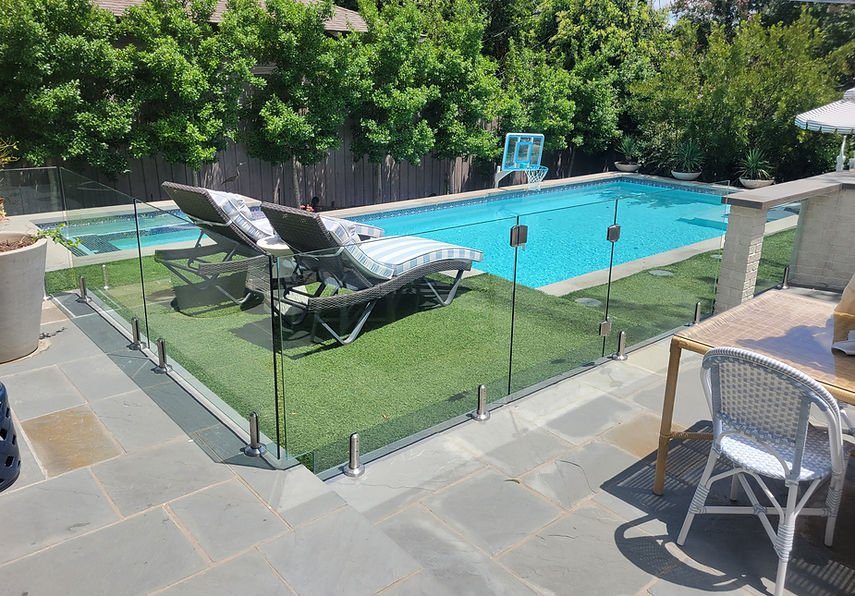
Step 4: Attach the Glass Panels
Once posts are fully cured and secure, it’s time to hang the glass panels. Our installations use 1/2″ tempered glass, which is significantly heavier than it looks; a standard panel can weigh 60 to 80 pounds or more. Always use suction cup handles and work with at least one other person when lifting panels into place.
Seat each panel into its spigots or clamps with the rubber spacers in place. The glass should never make direct contact with metal hardware. Tighten clamps evenly and check that each panel sits flush with its neighbors.
Step 5: Install the Gate
The gate is the most important safety component of your entire fence. It must be self-closing and self-latching, which means it swings shut on its own and the latch engages without any manual assistance.
Install gate hinges with adjustable tension so the closing speed can be set correctly. Test the gate repeatedly after installation to confirm it closes and latches from every position, including when pushed only partway open.
A gate that fails to latch is a code violation and a real safety risk.
Step 6: Final Inspection
Walk the entire fence line and check:
- Every post for any movement or wobble
- Every panel for chips, cracks, or improper seating
- All clamps and hardware for full tightness
- Gate operation: open it from both sides, and confirm it closes and latches every time
- Ground clearance: verify gaps at the base of the fence are within code
Why Most Homeowners Choose Professional Installation
Glass pool fence installation involves heavy materials, precision drilling, concrete work, and strict code compliance. A single error, a post that’s slightly off-plumb, a gate that doesn’t self-latch, or a panel installed without proper rubber spacers can compromise both safety and aesthetics in ways that aren’t always immediately obvious.
We handle every installation ourselves using 1/2″ tempered and polished glass with top-grade stainless steel hardware. Every project starts with a site assessment, and we handle all measurements, layout, and installation from start to finish. Our work is backed by a one-year installation warranty and a two-year product warranty on materials.
If you’re in the DFW area, Royse City, Rockwall, Plano, Frisco, Dallas, or surrounding communities, we’d be glad to walk you through your options. Contact us to schedule a free consultation.
Related Topics: